Intermediate wound repair (layered closure - small) Dermatology Surgery
Intermediate wound repair is a layered closure of a cut or surgical wound.
Overview
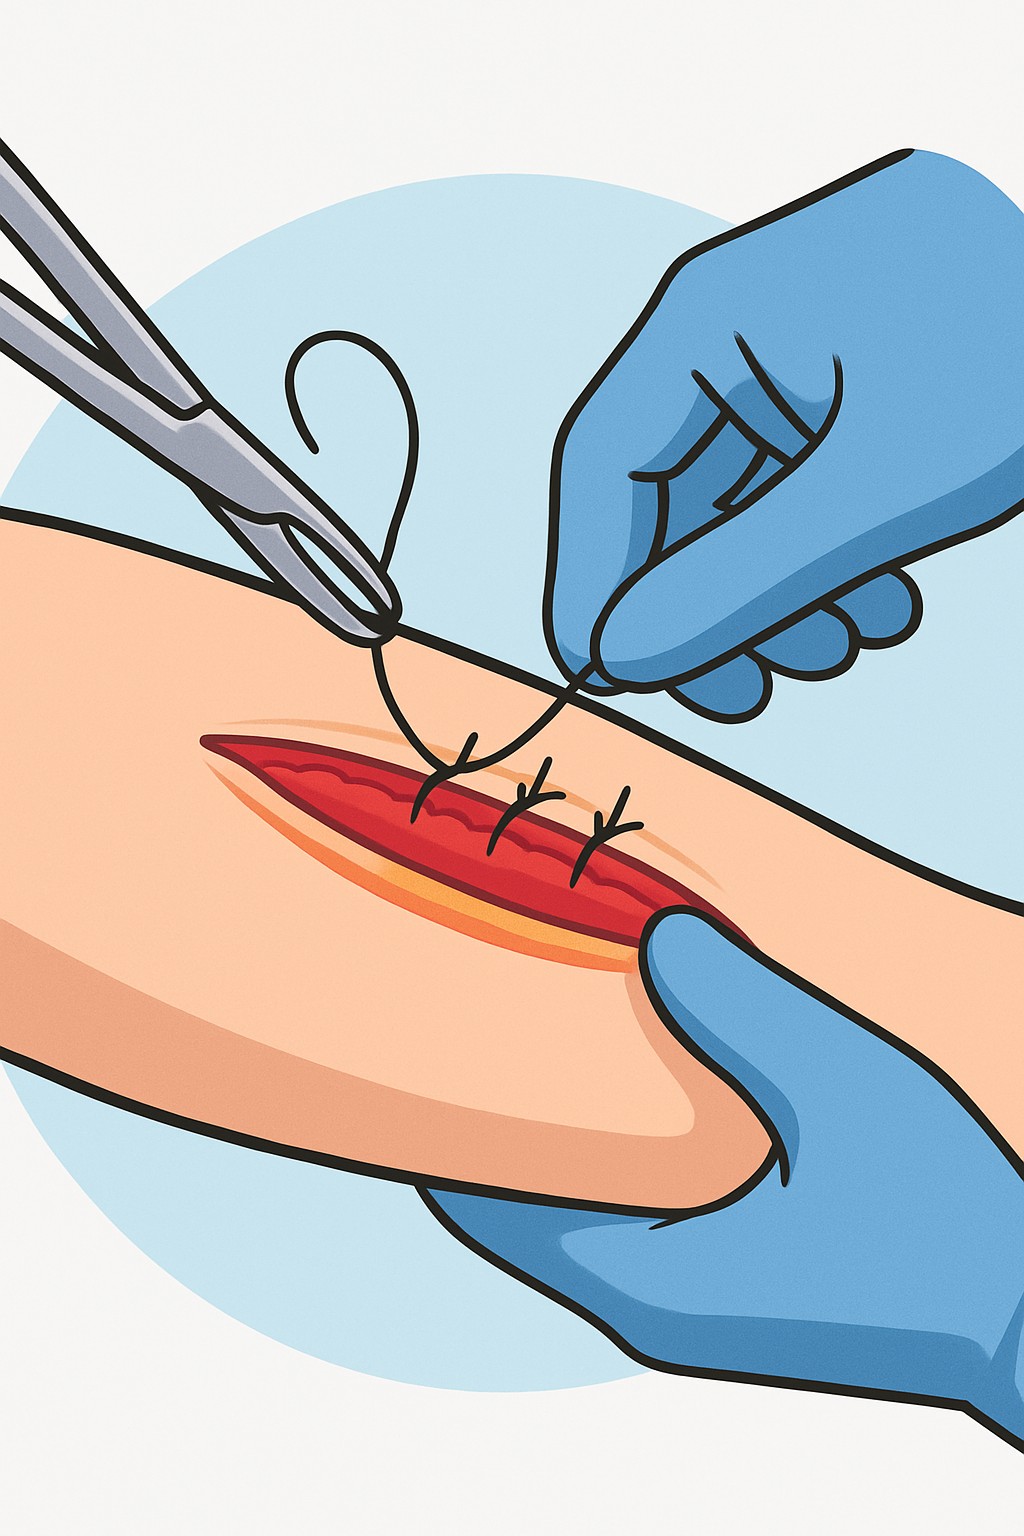
Intermediate wound repair is a layered closure of a cut or surgical wound. The clinician closes deeper tissue beneath the skin first, then closes the skin on top. This helps support the wound, reduce tension, and improve alignment for healing. A "small" repair refers to a shorter-length wound that still needs layers closed. It is commonly done in a clinic, urgent care, or emergency department using local anesthesia to numb the area.
Also known as: Layered wound closure, Intermediate laceration repair, Layered suturing (small)
Preparation & Next Steps
Everything you need to know before and after your procedure
Before Care
- Bring a list of your medicines and supplements, including any blood thinners
- Know your allergies, especially to local anesthetics, latex, or adhesive tape
- Have your tetanus vaccination history available; recent boosters may be relevant
- If the wound is bandaged, keep it covered and avoid ointments unless told otherwise
- Avoid eating or drinking only if the clinic advised possible sedation
- Arrange a ride if sedation is planned or if the wound is on a limb you drive with
- Wear clean, loose clothing that allows easy access to the wound
- Share how and when the injury happened, and any contamination (dirt, metal, bites)
- Remove jewelry near the injured area to prevent swelling-related tightness
After Care
- Keep the dressing clean and dry; change it as instructed by your care team
- Do not soak the area (no baths, hot tubs, or swimming) until you are told it is safe
- Gently clean around the site as directed; avoid scrubbing the wound itself
- Limit stretching, heavy lifting, or friction across the repair while it heals
- Take prescribed or recommended pain medicine only as directed on the label
- Watch for increasing redness, warmth, swelling, drainage, or fever and contact a clinician if these appear
- Ask when to return for suture removal or a wound check if non-absorbable stitches were used
- Protect the area from the sun after the skin has closed; use sunscreen to reduce scarring
- Keep a simple log of any changes in pain, drainage, or function to review at follow-up
Clinical Information
Important medical details about this procedure
Indications
- Cuts that expose fat or muscle
- Wounds under tension where skin edges pull apart
- Wounds with uneven edges or partial skin flaps
- Surgical incisions that need deeper support
- Cleaned wounds that are deeper than the top skin layer
Alternatives
- Simple (single-layer) closure with sutures or staples
- Tissue adhesive or adhesive strips for low-tension wounds
- Delayed primary closure after additional cleaning
- Healing by secondary intention (allowing the wound to close on its own)
- Referral to a specialist for complex or high-risk wounds
Risks
- Bleeding or bruising
- Infection
- Scarring, including thick or raised scars
- Wound reopening (dehiscence)
- Numbness or injury to small nerves
- Reaction to local anesthetic or suture material
Contraindications
- Heavily contaminated or infected wounds that may need staged or delayed closure
- Crush injuries or devitalized tissue requiring surgical debridement
- Bite wounds on high-risk areas that may need special management
- Poor blood supply in the area impairing healing
- Known allergy to planned local anesthetic or closure materials
Recovery Timeline
What to expect during your recovery
Skin usually closes over in about 1 to 2 weeks for small layered repairs. Tenderness and scar remodeling can continue for weeks to months.
Typical Range
7–14 days
Return to Work
0–3 days
Recovery Milestones
Keep dressing in place and protect the area; light daily activities
Gentle movement that does not pull on the repair; avoid soaking the wound
Follow-up visit for suture check or removal if needed; increase activity as allowed
Gradual return to full activity if the wound is closed and comfortable
Scar maturation phase; start sun protection and gentle scar care once healed
Frequently Asked Questions
Common questions and expert answers about this procedure
What makes this an intermediate repair instead of a simple repair?
What makes this an intermediate repair instead of a simple repair?
Intermediate repair closes deeper tissue layers under the skin before closing the skin. Simple repair usually closes only the skin.
How is pain managed during the procedure?
How is pain managed during the procedure?
A local anesthetic is injected to numb the area. You may feel pressure or tugging but should not feel sharp pain.
Will I get dissolvable stitches?
Will I get dissolvable stitches?
Deeper stitches are often absorbable. The skin may be closed with non-absorbable stitches, staples, or adhesive, depending on the wound.
How long does the procedure take?
How long does the procedure take?
Small layered closures often take 20 to 45 minutes, depending on wound size, location, and cleanliness.
When can I shower?
When can I shower?
Many people can shower after the first dressing change if the site is kept dry and covered. Avoid soaking until cleared by your clinician.
Will I need antibiotics?
Will I need antibiotics?
Clean wounds usually do not need antibiotics. Contaminated wounds or bites may be managed differently based on clinical judgment.
What scar can I expect?
What scar can I expect?
All repairs leave a scar. Layered closure helps align tissue and may improve the scar’s appearance. Scars typically fade over months.
How will I know when stitches should be removed?
How will I know when stitches should be removed?
Removal timing depends on the body area and tension on the wound. A follow-up visit is usually scheduled to assess and remove if needed.
References
Medical literature and sources