Pelvic Ultrasound (non-OB) Diagnostic Imaging
A pelvic ultrasound is an imaging test that uses sound waves to make pictures of organs in the pelvis.
Overview
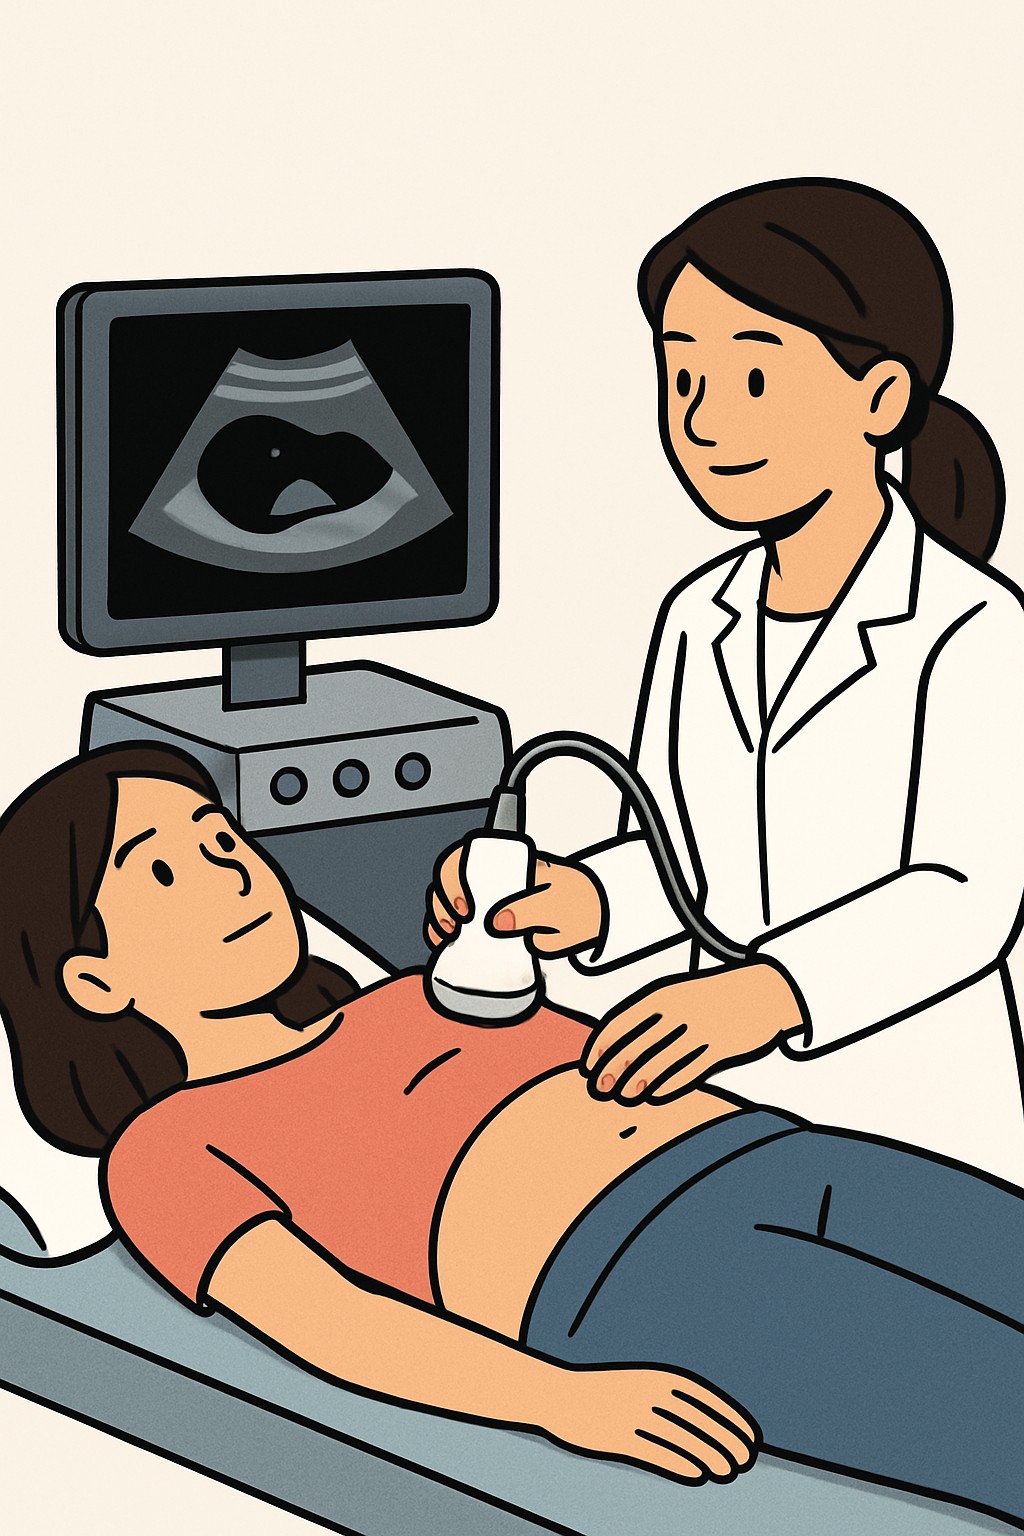
A pelvic ultrasound is an imaging test that uses sound waves to make pictures of organs in the pelvis. It does not use radiation. For non-pregnant patients, it can look at the uterus, cervix, ovaries, fallopian tubes, bladder, and nearby tissues. There are two common ways to do this test. Transabdominal ultrasound uses a probe on the skin of the lower belly, usually with a full bladder. Transvaginal ultrasound uses a thin, covered probe placed in the vagina to get closer images of the uterus and ovaries. Many exams use both approaches in one visit.
Also known as: Pelvic sonogram, Gynecologic ultrasound, Transabdominal pelvic ultrasound, Transvaginal ultrasound
Preparation & Next Steps
Everything you need to know before and after your procedure
Before Care
- Confirm the exam type (transabdominal, transvaginal, or both) and follow the imaging center’s instructions about bladder filling or emptying.
- Bring a photo ID, insurance card, and the test order or referral if provided.
- Arrive a little early to check in and complete any forms.
- Wear comfortable, two-piece clothing to allow access to the lower abdomen.
- Tell the staff about any allergies (including latex), medical devices, or if you could be pregnant.
- Continue regular medicines unless your clinician or the imaging center gives different instructions.
- Bring prior imaging reports or CDs if available to help with comparison.
- Plan your schedule; the visit typically takes 30 to 60 minutes including check-in.
After Care
- You can usually return to normal activities right after the ultrasound.
- If you were asked to hold your urine, you may use the restroom immediately after the exam.
- Expect little to no discomfort; mild cramping or light spotting can occur after a transvaginal scan.
- Use a pad if light spotting occurs; it typically resolves quickly.
- Check your patient portal or with the ordering clinician for results and next steps.
- Keep any follow-up appointments that were arranged for additional imaging or evaluation.
- Store the report and images in your personal health records if you receive copies.
- Contact your clinician if you develop heavy bleeding, fever, severe or worsening pelvic pain, or other concerning symptoms.
Clinical Information
Important medical details about this procedure
Indications
- Pelvic pain or pressure
- Abnormal uterine bleeding, including after menopause
- Suspected uterine fibroids or polyps
- Ovarian cysts or masses
- Monitoring known gynecologic conditions
- Infertility evaluation
- Pelvic inflammatory disease evaluation
- Checking intrauterine device (IUD) position
- Urinary symptoms suspected to involve the bladder
Alternatives
- Watchful waiting with clinical follow-up
- Laboratory tests (for example, hormone tests or infection tests)
- Pelvic MRI
- CT scan of the pelvis
- Sonohysterography (saline infusion ultrasound)
- Hysteroscopy (camera inside the uterus)
Risks
- Temporary discomfort or pressure during the exam
- Mild cramping or light spotting after a transvaginal scan
- Rare irritation or infection risk with transvaginal probe use
- Allergic reaction to probe cover if latex is used
- Inconclusive or limited images if the bladder is not full or due to body factors
- Findings that lead to more tests or procedures
Contraindications
- Transvaginal approach is not performed without consent or if not tolerated
- Severe latex allergy when only latex probe covers are available (latex-free options are common)
- Recent pelvic surgery or acute conditions where vaginal instrumentation is restricted (transabdominal may still be used)
Recovery Timeline
What to expect during your recovery
Most people resume normal activities immediately after a pelvic ultrasound. There is no medical recovery period for the imaging itself.
Typical Range
Same day
Return to Work
Same day
Recovery Milestones
Resume normal daily activities
Urinate and rehydrate after the exam as desired
Mild spotting after a transvaginal scan, if present, typically resolves
Review results with the ordering clinician or via the patient portal
Frequently Asked Questions
Common questions and expert answers about this procedure
What is the difference between transabdominal and transvaginal ultrasound?
What is the difference between transabdominal and transvaginal ultrasound?
Transabdominal uses a probe on the lower belly, often with a full bladder. Transvaginal uses a thin probe in the vagina for closer views of the uterus and ovaries. Many exams use both.
How long does a pelvic ultrasound take?
How long does a pelvic ultrasound take?
The scan itself often takes 15 to 30 minutes. With check-in and preparation, plan for about 30 to 60 minutes.
Does a pelvic ultrasound use radiation?
Does a pelvic ultrasound use radiation?
No. Ultrasound uses sound waves, not ionizing radiation.
Do I need a full bladder?
Do I need a full bladder?
Many transabdominal exams require a full bladder to improve the view. Follow the imaging center’s specific instructions.
Will it be uncomfortable?
Will it be uncomfortable?
You may feel pressure on the abdomen or mild pressure with the transvaginal probe. Most people tolerate the exam well.
Can it be done during my period?
Can it be done during my period?
Yes, pelvic ultrasound can be performed during menstruation. If you have concerns, discuss timing preferences with the imaging center.
When will I get results?
When will I get results?
A radiologist interprets the images and sends a report to the ordering clinician, who shares results with you. This often occurs within a few business days.
Can an IUD affect the exam?
Can an IUD affect the exam?
An IUD is usually visible on ultrasound, and its position can be checked. The device does not prevent the exam from being performed.
References
Medical literature and sources